How to Embed a YouTube Video or Playlist in a Website or Online Lesson
Embedding a YouTube video can make a lesson, tutorial or resource page more useful, but the video should not be the only thing on the page. Visitors need a little context: why the clip matters, which section to watch and what to do after it ends.
This guide walks through a simple embed workflow and the small details that make video resources easier to use.
1. Copy the official embed code
Open the video or playlist on YouTube. Choose Share, then Embed, and copy the HTML provided. YouTube's official embed guide documents the steps and explains options for embedding videos and playlists.
Paste the code into the page editor or CMS field that accepts embed code. Some site builders provide a dedicated YouTube block or URL field; use that option if it is available rather than placing raw HTML into a normal paragraph.
Before publishing, check that the video's owner allows embedding and that your page template handles the iframe correctly. If the video is unavailable, restricted or embedding is disabled, the embed may not work for every visitor.
2. Explain why the video is here
Add a short introduction above the player. State what the viewer will learn and whether they need any files, accounts or prior knowledge. An embedded tutorial without context can force a visitor to guess whether it answers their question.
For a course page, include the lesson objective and a short follow-up task. For a blog post, explain which part of the video supports the point you are making. If the source is someone else's work, identify the creator and do not imply that you made the video.
3. Link to a useful moment
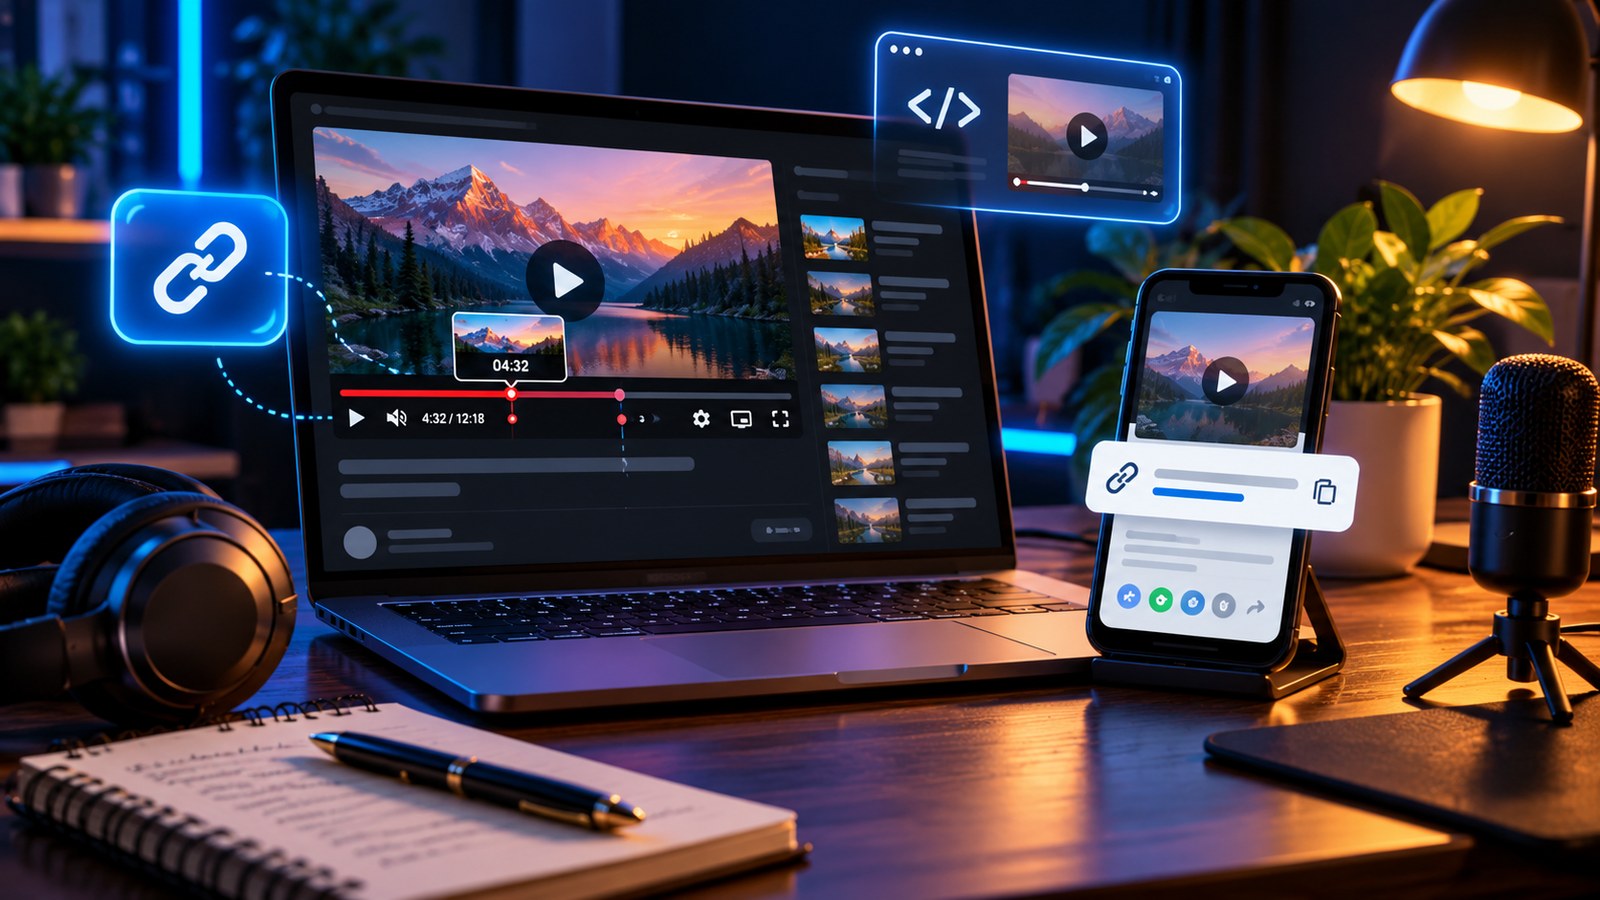
Sometimes a page needs to send people to one specific part of a longer video. YouTube supports start times in embed URLs. For example, a start value of 270 indicates 270 seconds, or 4 minutes and 30 seconds, into the video. The exact URL structure depends on whether you are using the official embed flow, so test the final result rather than blindly appending parameters to any link.
If you are sharing a video for reference rather than embedding it, YouTube's native sharing options may support starting at a chosen timestamp. YTPlayTime lists timestamp and link utilities in its main tools directory, which can help when you are preparing resources for readers or students.
4. Use chapters for longer lessons
For a longer video, chapters can help viewers jump to the concept they need. YouTube's official Video Chapters guide explains how to add chapters in a description. Make sure each label describes the section accurately and that every timecode points to the right moment.
Do not add timestamps merely to make a description look more detailed. They should save the viewer time. When a chapter title promises an answer, confirm that the section actually provides it.
5. Make the layout work on mobile
A player that fits a desktop page can overflow a narrow phone screen if the embed is wrapped in a fixed-width container. Use your website's responsive video component where possible and test the page at phone, tablet and desktop widths.
Avoid autoplay unless it is essential and appropriate to the experience. Unexpected audio can interrupt a visitor, and autoplayed embedded videos do not increment YouTube views in the same way as a normal user-initiated playback, according to YouTube's embed documentation. Let the viewer choose when to play.
6. Add an accessible alternative
Give the embedded video a descriptive heading and surrounding explanation. If the video contains instructions, summarise the key steps in text so a reader can scan the page and so the information is not locked inside the player. Use captions when available, especially for learners watching without sound or people who benefit from reading along.
Do not make a video the only route to an essential instruction when a short text version would help. The goal is to add a richer explanation, not to hide useful information behind a player.
7. Check the page after publishing
Open the page in a private browser window, on a mobile device and while logged out. Confirm that the player appears, the start time is correct, links work and the page still makes sense if a visitor chooses not to play the video.
Before you publish
- Use the official embed option or your CMS's YouTube block.
- Introduce the video and explain its value.
- Test any start timestamp or chapter links.
- Check responsive sizing and avoid unexpected autoplay.
- Add text context and captions where available.
- Confirm the video is available to your intended audience.
An embed is most valuable when it sits inside a well-designed learning experience. Provide context, send viewers to the right moment and make the page useful even before they press play.